Have you seen the latest Christmas trend? Christmas door bows have been popping up everywhere over recent years. It’s a simple way to make the outside of your home look and feel Christmassy, without going ‘over the top’. When I first saw Christmas door bows, I thought that they looked quite complicated to make. But I soon realised that there was an easy way to create a Christmas door bow that takes just 5 minutes!
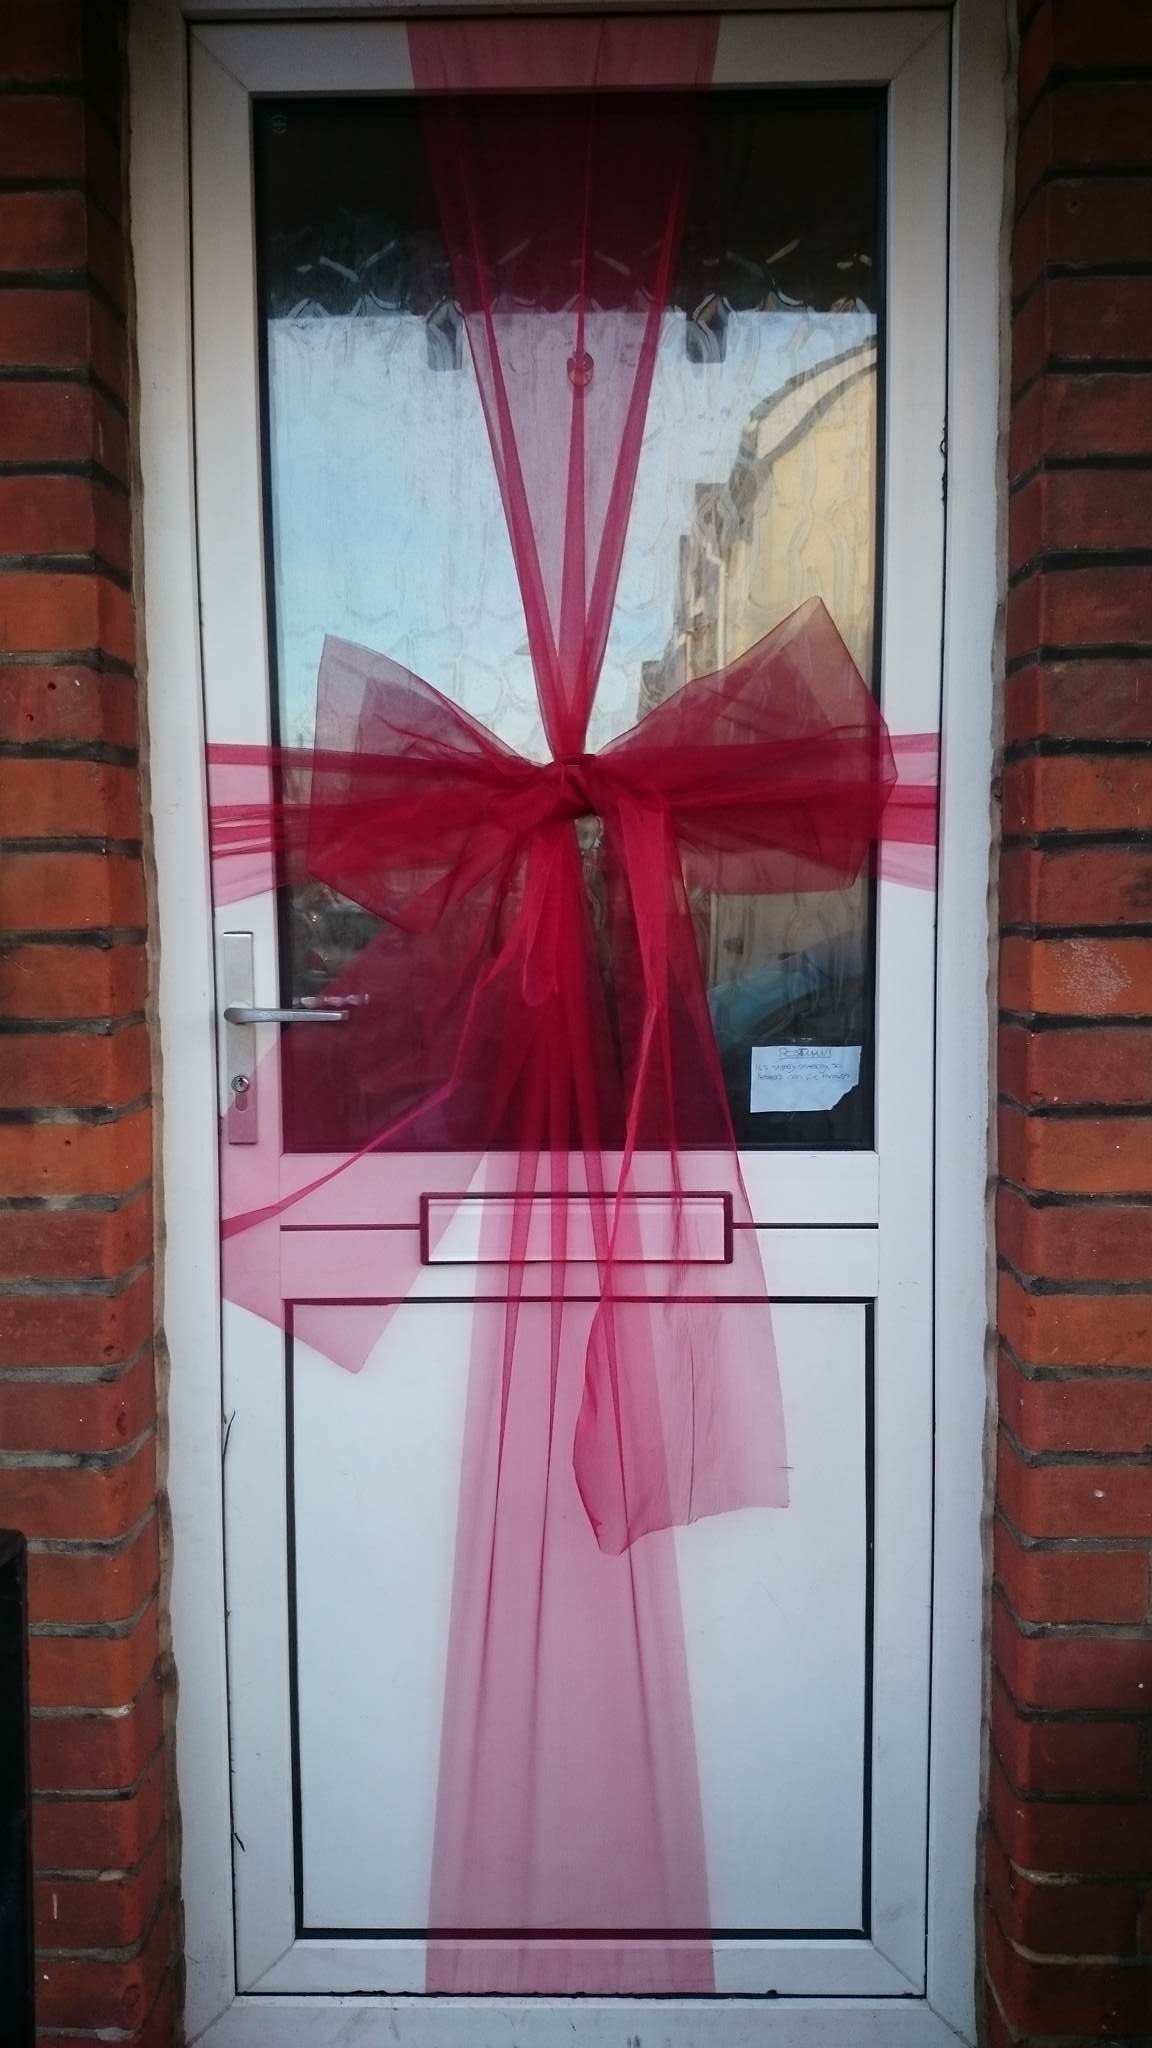
Before we get into the step-by-step guide on how to make your very own Christmas door bow, there seems to be some people concerned with the postman being able to access the letterbox. Not to worry – organza is stretchy, so there will be no problems receiving mail as normal. To access the letterbox, our postman just pulled it to the size a little – no problem!
As Christmas door bows are an increasingly popular home decoration, there are plenty of companies cashing in. Many companies are selling ready-made door bows – but for a hefty price! In this tutorial, I will show you how to make your own Christmas door bow for just £3.99! If you are careful with how you remove it, you can use it year after year too.
I ordered a roll of red organza from Amazon, which was just a few pound when I purchased it. But you can choose any colour you prefer! The great thing about this Christmas door bow is that it’s completely customisable. I opted to create my own bow out of the same organza, however many choose to buy two colours. Some even choose to buy a ready-made bow to attach onto the organza that wraps around the door.
So, here’s how I did it.
What You Will Need:
- Organza (or your material of choice)
- Scissors
- Safety Pins or Stapler
Step #1
Organza usually comes on a roll, for you to cut to measure yourself. So start by measuring your door, leaving enough to tie it. I added on a bit extra on top, just in case!
Step #2
With your door open, hold one end of the organza and wrap it length ways over the front of your door – the ends should be inside!
Step #3
Bring both ends of the organza to the middle of the inside of your door and cross them over. Imagine you are tying a ribbon – do it the same way! At this point, the inside of your door should have an ‘+’ in the middle.
Step #4
Both ends of the organza should now be pointing width ways, so you can wrap it around the width of your door. When you finish this step, you should be outside, at the front of the door.
Step #5
Tie it into a cross once again and push the ends back around the width of the door – ending up inside.
Step #6
Tie a knot in the centre of the door to keep it all in place and cut off any excess. Both sides of the door should look the same, except the front will have no knot.

Step #7
I made my own bow with the leftover material, however you could always buy one, and attach it with pins.
If you make your own Christmas door bow this year, I would love to see it!


How to make a door bow for Christmas 2018 – a step-by-step guide and where to buy the festive decorations News Corp is a network of leading companies in the worlds of diversified media, news, education, and information services.
LikeLike